
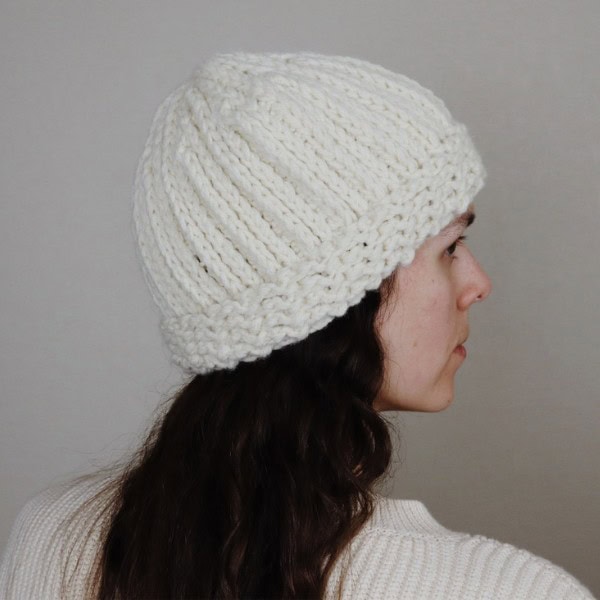
The Sole Hat is an addictive crochet project that you‘ll want to make time and again. It‘s the Sew Homey take on the classic, chunky knit-ribbed hat. It features a unique stitch combination paired with short rows, giving it the perfect fit.
Materials
Yarn
Lion Brand Wool Ease Thick & Quick
OR
Lion Brand Wool Ease, held double
Hook
6.5 mm / US K
Crochet.com / Joann / Amazon
Video Resources
The following videos cover the stitches and techniques used throughout the pattern.
Fundamental Stitches
Review the fundamental stitches on this page. For this pattern, you need to know:
- chain (ch)
- half double crochet (hdc)
- slip stitch (sl st)
How to Begin the Hat with a Magic Circle
Main Stitch Pattern
The main stitch pattern for the Mine Hat is the hdc 3rd loop. If you know how to make a traditional hdc, it’s the exact same stitch. The only difference is the placement of the hook when making the stitch. The short tutorial below will walk you through the stitch pattern.
Pay close attention to how to make the stitch on the right side (rs) and wrong side (ws). This is how we create the contrasting brim in the pattern.
Short Rows
The technique used to shape the hat is called short rows and it minimizes the bulk at the crown of the head. In short rows, a few stitches are left unworked at the top and the next rows are worked as normal. When the unworked stitches are used later, the hat will be smaller at the top, and naturally curve into a dome shape as more rows are added.
For a more in depth description of how crochet short rows work, please watch the video below.
How to hdc2tog Specifically for the Sole Hat
As part of the short rows, you will need to work two hdc2tog. Typically, this stitch is used to decrease stitches. However, for this pattern, the hdc2tog is used to close the gap when connecting the new row to the unworked stitches.
The video below is exclusive to this pattern. I’ll show you exactly what the stitches look like and how to work the hdc2tog.
How to Sew the Top of the Hat Closed
The pattern begins with a magic circle, which might seem counterintuitive since this hat is crocheted lengthwise. But work with me here. When we slip stitch every 4th row to the magic circle, it means that when the rows are complete and the sides are seamed, all there is left to do is pull a string. There is no weaving the tapestry needles through the tops of the rows. It’s already done. Pull the magic circle closed and your hat is cinched shut. Simple as that.
This is my secret to creating the easiest, professional finish for the top of crochet hats. Watch the tutorial for how to accomplish it.