
Knitting is a craft that has been around for ages. For this reason, many tools are available to enhance a knitter’s experience. But as a beginner, you can’t help but feel overwhelmed standing in the craft store aisle, staring at all the supplies you might need.
When I was first learning to knit, I knew that the bare minimum supplies I needed were yarn and a pair of knitting needles. But I wasn’t sure where to go from there. Choosing the right size needles was my biggest concern. So I created a simple guide that walks you through 9 items that will get you started and why they are important.
1. Knitting Needles
Besides yarn, this is the most important tool you need to begin. Knitting needles come in all shapes and sizes and materials.
I recommend you get bamboo circular needles to start with in a size US 8 (5 mm) – US 15 (10 mm) with a length of either 24 inches, 29 inches or 32 inches. Continue reading for further explanations so you can make your own decision.
Types of Knitting Needles
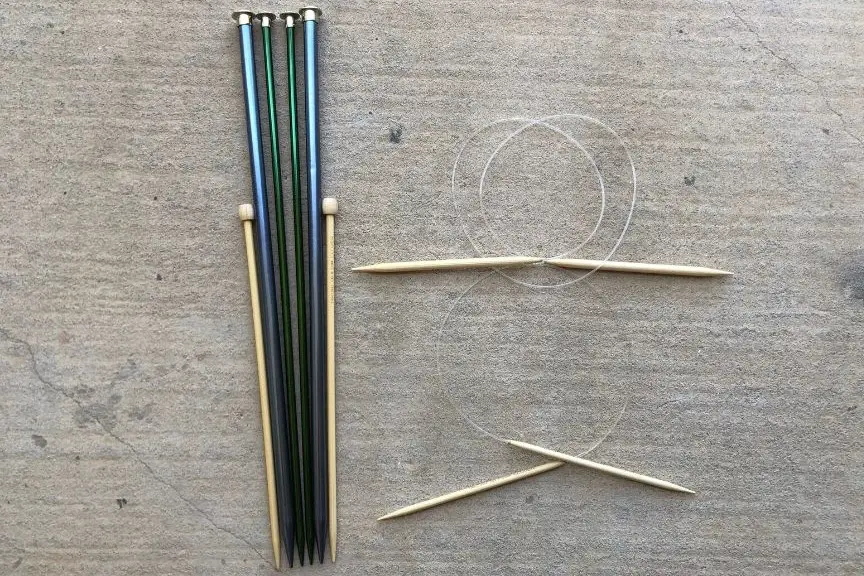
The most common types of needles are straight, circular, and double pointed. Refer to the table for more information.
| Type | Knitting Method | Appearance | Example Projects |
| Straight Needles | Knit flat | Long and straight like a pencil. Pointed end to knit and blunt at the top. | Wash cloths, blankets, scarves |
| Circular Needles | Knit flat or in the round | Shortened knitting needles connected by a long piece of plastic cord. | Sweaters, gloves, hats, cowls |
| Double Pointed Needles | Knit in the round | Long and straight like a pencil, but pointed on both ends. | Socks, hats |
For beginners, I suggest getting a set of circular needles. Most blogs will tell you straight needles, but I don’t agree. Circular needles have dual purposes. You can knit flat, like with straight needles, and you can knit pieces in tubes. Adapting the needle to the pattern is a better strategy in my opinion. You save money and storage space. Also I found it easier to hold the small straight parts on the circular needles versus the long pencil-like needles.
Sizes of Knitting Needles
Knitting needle sizes are determined by the diameter of the needle. And there are several different notations that indicate needle size. For the purposes of this post, I will just focus on US and metric measurements.
The Craft Yarn Council has a list of all the knitting needle sizes available on their website and you can locate the page by clicking here. In summary, knitting needles come printed with a number from 000 to 70 and a millimeter size that ranges from 1.50 mm to 35 mm. The single number is the US size that corresponds to the diameter which is measured in millimeters. Both mean the same thing though.
“Because letter and number sizing vary from company to company, rely on the package millimeter (mm) sizing, which is an accurate measurement.”
– Craft yarn council
Along with the needle size, a length will be printed on the package. The length is measured from needle point to needle point (or blunt end).
- Straight needle lengths range from about 6 inches (15cm) to 14 inches (35 cm).
- Circular needles commonly come in 8 inches, 9 inches, 24 inches, 29 inches, 36 inches, 40 inches or longer.
- Double pointed needles (DPNs) have lengths that range from 4 inches to 10 inches.
As a guide for beginners, stick to a larger needle size, a US 8 or higher. A US 8 is the size I started with. It was big enough for me to control the needles and the yarn had a heavy enough weight that the project did not take ages to complete. The length will vary from project to project. If knitting a sweater, a length of 32 inches is good. For more guidance, I have an article about choosing lengths for circular needles, click here to read it.
Knitting Needle Materials
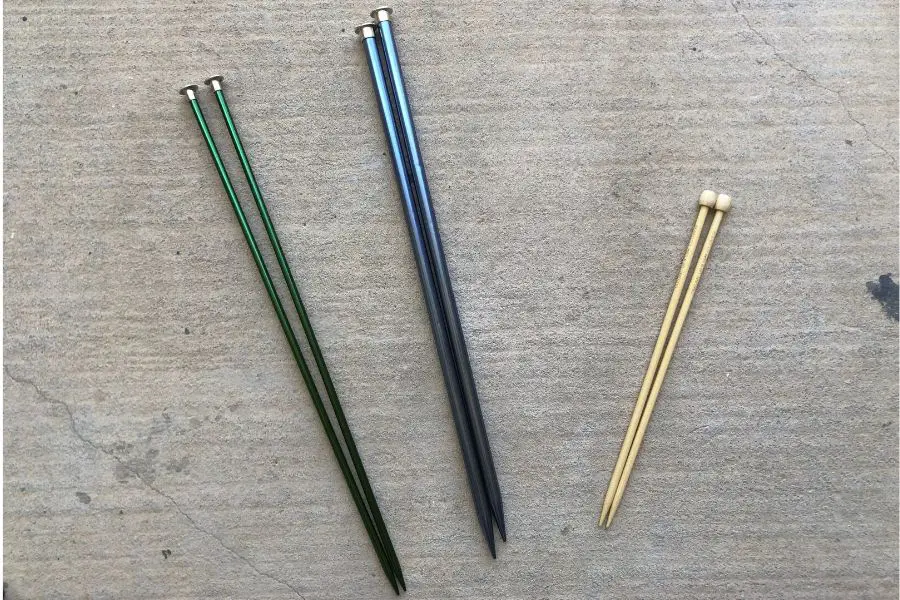
Each type of needle can also be made of different materials. The most commonly used knitting materials are bamboo, plastic or metal.
Yarn will glide off easily of aluminum or plastic needles. This is great when you become more advanced because you can knit faster. Both materials are readily available, budget friendly, and will last a long time.
As a beginner, I suggest getting bamboo knitting needles. The yarn will still slide off the needle easily, but the fibers will catch on the bamboo which makes it less slippery. This is easier, especially in the beginning, because stitches won’t fall off when you try to knit. It will be less frustrating and you can learn at a decent pace.
Bamboo needles are my personal favorite at the moment. I’m still learning a lot of new stitches, and I find bamboo easier to work with. They do cost slightly more than aluminum or plastic, but they are durable.
2. Yarn
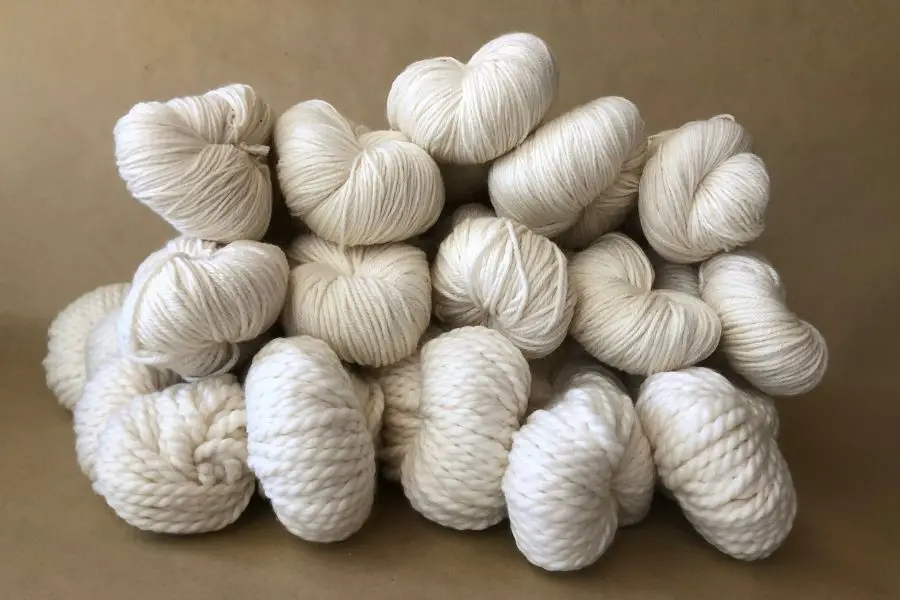
Yarn is one of the best parts of knitting! There are so many colors to choose from, so many textures, and it’s just so hard to pick the right one. Before you run wild in the craft store, there are a couple things you should know about yarn.
- Yarn is paired with needle sizes. The thicker the yarn weight, the bigger the knitting needle diameter. The yarn weight will have a big number on the label with a suggested knitting needle size. For more detail on yarn weights, visit the Craft Yarn Council’s page on yarn weights here.
- Yarn has two categories of fibers, natural and synthetic. The fiber content will always be printed on the label. Natural fibers come from plants and animals.
- Examples of plant fibers include cotton, bamboo, hemp and linen.
- Animal fibers come from wool, alpaca, angora, or cashmere.
- The other kind of fibers are man-made, or synthetic. These include nylon, acrylic, and polyester.
Now that you know this information, follow these simple guidelines to find a good yarn to start with.
Choose a yarn weight that is a 4 (worsted weight) up to a 7 (jumbo). A larger needle will need to be used to knit the heavier weight yarns. This is great for two reasons:
- You can hold the materials easier and have more control when you first knit.
- Also, heavier weight yarns will make bigger stitches, so you can finish your project faster.
Choose an acrylic yarn. There are many colors, weights and textures of acrylic yarns, so you shouldn’t have a problem finding one you like. Start with acrylic because the fibers will hold its shape well and won’t felt or make knots easily. You will rip out sections of your knit fabric and start again when you are learning. You need a yarn that can withstand your mistakes until you get the hang of it. Then you can move on to higher end yarns.
Choose a color other than black. Lighter colors are easier to see the stitches. In order to become more advanced, you need to familiarize yourself with how stitches should look, knitted and on the needle. I would try to pick any other color than black.
Choose a solid color. Solids are great choices, again, because you can see the stitches much better. With variegated, striped or speckled yarn, your eye can lose the stitch pattern within the unique color design.
Resist the urge to get fuzzy or textured yarns. I know, the fuzzy yarns are so soft and tempting. But, because of all the fuzz, you won’t be able to see the stitches or where to put your needle to make a new stitch. For now, gently caress them, but put them back on the shelf for a later project when you’ve had some practice.
I recommend Lion Brand, Red Heart, or Yarn Bee. These brands are available at your major chain craft stores. They have a ton of acrylic options, and there are multiple color selections.
3. Scissors
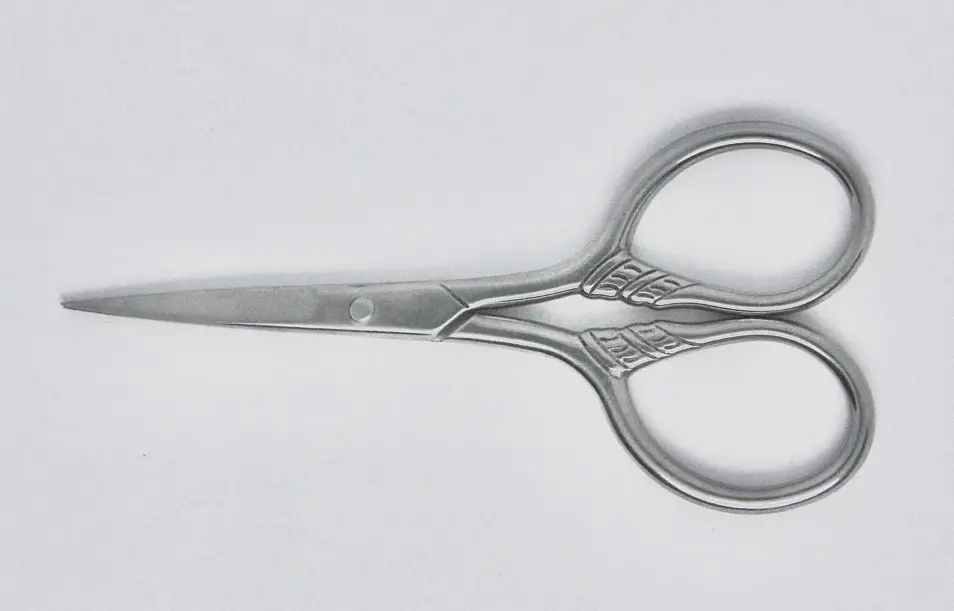
Any pair of scissors lying around the house will work. You just need something that is sharp enough to cut through the yarn when you finish your piece. Embroidery scissors or small, sharp craft scissors are great options.
4. Tapestry Needle
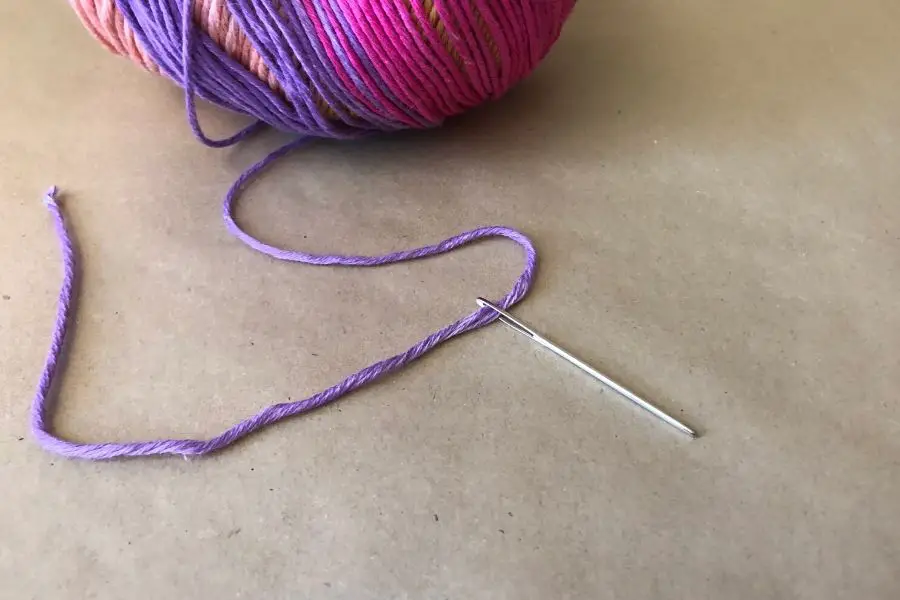
A tapestry needle is also called a yarn needle or darning needle. They look the same as a sewing needle, except bigger. The eye is large enough to thread yarn and it has a blunt end so it doesn’t split the yarn or poke you.
Tapestry needles come in metal or plastic. I suggest metal needles because they glide through the yarn easily and hold their shape well. If you find packs that come in 2 or more, this is better. Tapestry needles are small and easy to misplace. It’s better to have a backup.
A tapestry needle has three main purposes, all of which you should add them to your knitting supplies.
- Tapestry needles are used to weave in the yarn tails. When you are finished with your project, you cut the yarn away from the skein. But you always leave a small tail. Otherwise, if you cut it too short, the knitted fabric will unravel. So, you use the needle to sew the ends into the fabric to conceal them.
- Tapestry needles sew knitted pieces together. Patterns are all written differently. Some require you to knit in pieces, such as the sleeves. At the end, you sew them together to complete the project.
- Tapestry needles can make embroidery designs. Sometimes a project can be enhanced by adding small embroidery details. A tapestry needle is the perfect size for making such stitches. This is especially common for adding face details to stuffed animals.
5. Crochet Hook
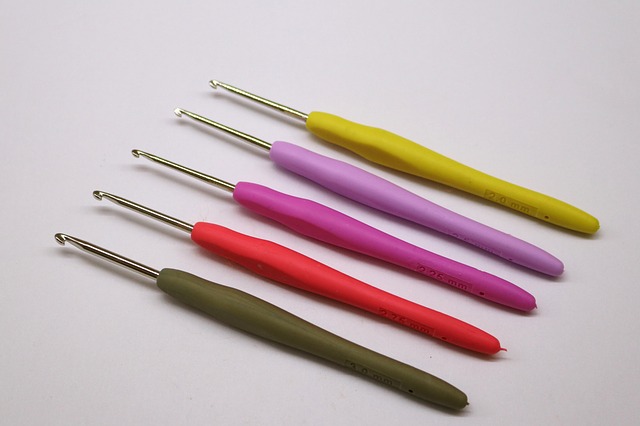
Wait, I thought we were knitting? Hear me out for a minute.
At any level of knitting skills, there is always room for mistakes. The most common is dropping stitches off the needle. Dropping a stitch means that a column of stitches could unravel if not fixed properly.
Crochet hooks are tools that make picking up a dropped stitch easy. You hook it around the stitch that fell and bring it up and “knit” the piece back together and put the loop back on the needle. A size US G/6 (4.00 mm) hook should work for most yarn weights.
6. Stitch Markers

Stitch markers come in many shapes and sizes and do exactly what the name suggests, mark your place on your project. They are inexpensive and handy pieces to have. Three common stitch markers include:
- Plastic stitch markers that look like safety pins. They open and close like a safety pin and stay put.
- Round stitches markers that slip over the knitting needle. You just slide it to the next needle and keep going. For example, in the photo above, I am using my ring to keep my place on a sleeve for my current project.
- And you can always use spare yarn. Knot it at one end and make a loop that fits on the knitting needle.
Stitch markers are used for various reasons.
- If working in the round, stitch markers can mark the beginning of a new row. They make it easier to keep track of the number of rows you have knit.
- If there is a pattern repeat, you can use many stitch markers in a row to indicate a new stitch or the increase/decrease section. This saves you from counting stitches all the time.
- Stitch markers can also be secured every so often to make counting the number of rows easier. If you place them every 10 rows, you just have to count by tens to determine the number of rows. Huge time saver if you are working on a large project, such as a blanket.
7. Measuring Tape
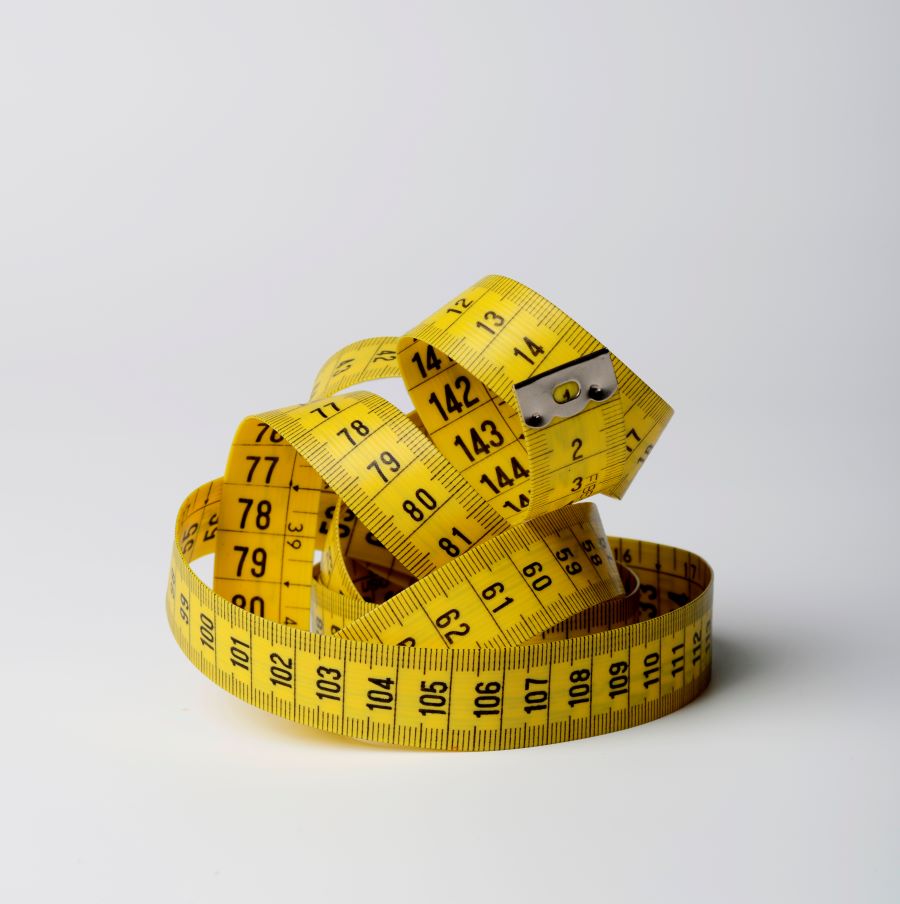
A measuring tape is a good tool to add to your knitting supplies. It will be useful for nearly every project.
Garments, or other wearable items will require you to take body measurements beforehand. Get a tape measure that seamstresses use that are flexible to go around your body.
Also, gauge is super important for many knitting projects. Gauge is the measure of the height and width of stitches. Usually you measure gauge over 4 inches with a tape measure and count how many stitches and rows there are. Although, if you make a lot of garments, you will definitely want to purchase a gauge ruler to make measuring faster.
Measuring tapes also come in handy for those projects that you knit until its long enough. A good example is a scarf. It doesn’t matter how many rows you have normally. You can just knit and measure occasionally to determine if its the length you want.
8. Notebook and Pen
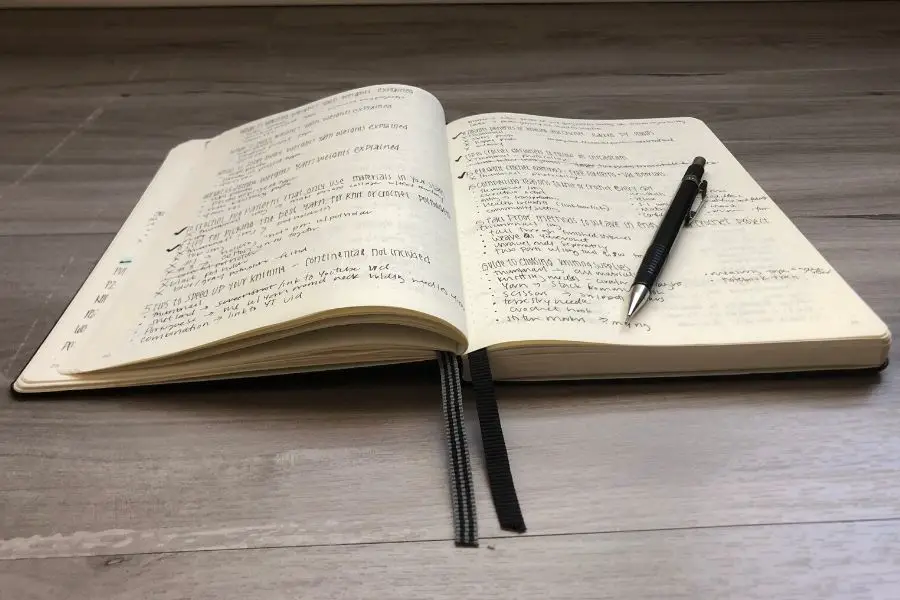
Your notebook does not have to be fancy. Use a spare journal if you have one, or even copy paper. Just keep paper and a pen close when you knit. Take notes on the pattern, jot down your measurements so you don’t forget, or use the notebook to add ideas you have.
I use my notebook all the time. I keep track of the number of stitches and rows with tally marks for the pattern I am working on. And if I modify a pattern to make it more fitted or looser, I make note of it. That way if I ever do the pattern again, I have detailed information on how I did it the first time.
9. Point Protectors
The last knitting tool I suggest you add to your supplies is point protectors. They are small rubbery pieces that attach to the end of your knitting needles. Point protectors prevent your knitting needles from damage when they are not in use. As an added bonus (the reason I use them), point protectors keep stitches from falling off when you need to put your work down.
Point protectors come in all shapes and sizes. Each has an opening big enough for a knitting needle to fit inside. The most common ones I see look like caution cones.
Pattern
This is the most exciting part and probably the reason you took up knitting in the first place. Gather patterns from Pinterest, Ravelry, or even books from your local library. Find one that looks interesting to you and commit to working on it for the next few weeks.
Recommended Products
I hope you found this helpful and wish you success in getting your knitting supplies. If you are interested in more of the products I recommend, please go to my “Recommended Products” page to learn more.
Happy knitting everyone!
Recent Posts
The Sole Hat: A Classic Knit-Look Hat Crochet Style | Free Pattern + Tutorial
If you're a crochet enthusiast looking for a timeless, cozy hat pattern with a unique twist, you're in the right place! Introducing Sole, the crochet version of the classic, chunky 2x1 knit ribbed...
Twofold is the Sew Homey take on a classic, chunky knit-ribbed hat with a folded brim. It features the same unique stitch combination and short rows as the Sole hat, but with a modification of stitch...