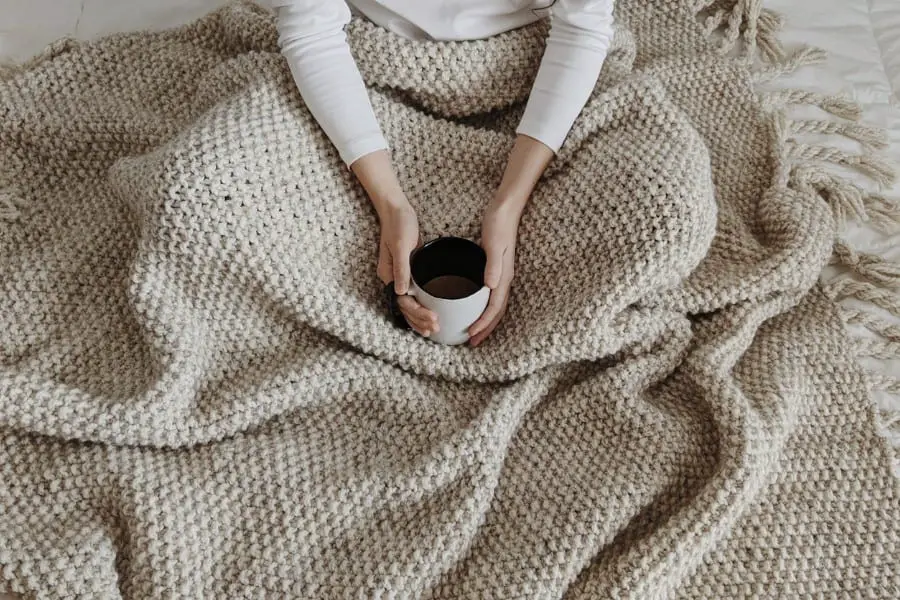
Hand knitting items for your home is so rewarding! Take a hand knit blanket for example. Every day you get to admire the thoughtfully crafted blanket and enjoy the hard work you put into it every time you use it. And knitting a blanket is not as hard as you might think.
This simple, modern knit blanket pattern is a great foundation for beginners to knitting. It walks you through the essentials to knitting: casting on, the knit stitch, the purl stitch, binding off, adding skeins of yarn, and weaving in ends.

If you’ve never picked up a set of knitting needles before, I suggest you keep reading. This knitting pattern will introduce you into the wonderful world of creating your own handmade home. And once this blanket is complete, you will feel confident to tackle other types of knitting projects!
And if you just want to skip to the pattern, it is at the bottom of the page, along with the video tutorial 🙂
How to Knit a Blanket – Easy Step-by-Step Instructions for Beginners
I wrote the knit blanket pattern, The Arctic Throw, specifically for beginners. The list below provides the foundation for any beginner to knitting, which is all covered in this knit blanket pattern. So once you master these, you’re unstoppable!
Step 1: Gather the Essential Knitting Materials
To complete this knit blanket, you need a very minimal amount of materials.
- Yarn – Lion Brand Wool-Ease Thick & Quick
- Knitting needles – #13 / 9.00 mm circulars that are 36″ or longer
- Scissors
- Tapestry needle
- Measuring tape
The pattern uses Lion Brand Wool-Ease Thick & Quick, a 6 or super bulky weight yarn. As the name suggests, this yarn is very thick, which is great for a few reasons.
First, when beginners learn to knit, it is important to identify between the stitches so that fewer mistakes are made. With a thick yarn, the stitch definition is really good, which helps you learn to differentiate between a knit and purl.
A thick yarn is also great for beginners because if a stitch comes off the needles on accident, it’s easier to grab and put back in place. With this yarn in particular, I know it stays in place and won’t unravel unless you tug on it because this happened to me a few times during this project.

Also, you will need a set of circular knitting needles that are a US size 13 or 9.00 mm that are 36″ long at least. Circulars are used for blankets because the amount of stitches required to make one is quite high. While straight needles can manage the amount of stitches, the weight of the blanket makes them much harder to handle. Plus, I think that circular knitting needles are easier to hold and get used to for beginners.
The last three items needed to complete this project are things you should be able to find around your home. Scissors are used to clip the ends after you weave them in, as well as for cutting the fringe. A tapestry needle is used for weaving in the ends. I recommend to use a metal needle because it glides through the yarn much easier. And finally, you need a measuring tape to ensure your blanket is on track to being the right size.
Step 2: Learn the Basic Abbreviations Used in Knitting Patterns
There are a lot of abbreviations in knitting, but in this pattern, all you need to know are a few basics. Below are the only ones used in this blanket pattern which I will describe in greater detail in the following sections, as well as in the video tutorial.
- co = cast on
- bo = bind off
- k = knit
- p = purl
- st(s) = stitches
Step 3: Cast On
The cast on (co) is how you get the first row of stitches from the ball of yarn onto the knitting needles. For this blanket, I will show you the long tail cast on, probably the most popular method for beginners to learn. It is super simple and I show you exactly how to do it in the video.
Step 4: Knit the Body of the Blanket
Every blanket is designed with a different stitch pattern. However, length must be added in the same exact way. This step will require you to knit in pattern for many rows until the blanket is long enough.
For the pattern I am sharing in this post, the seed stitch is the stitch pattern that is used for the blanket. It is reversible and made by alternating knit and purl stitches. I fell in love with this stitch ultimately for its texture. However, it is great for beginners too because you get to learn both the knit and purl. These are the only two stitches that make up knitting, everything else is a combination of the two.

Step 5: Add a New Ball of Yarn
Blankets are large items to knit, which means many skeins of yarn are used. Naturally, at some point you will run out of yarn and need to add another skein.
You can simply add a new skein of yarn by knitting the 2 yarn ends together (one from the new skein and one from the skein you ran out of) for a few stitches.
In the video, I will show you how to add a new skein to the blanket flawlessly. There’s not much to it, promise.
Step 6. Bind Off
The bind off (bo) is completed after the last row of the blanket. This is how you get your blanket off of your knitting needles in such a way that your blanket will not come unraveled.
Step 7: Weave in the Ends
The final step is to weave in all those pesky ends that were left from adding new skeins. They will be scattered across the blanket, but all need to be woven in so that the blanket doesn’t unravel over time.
This is where the tapestry needle comes into play. You thread the needle with an end of yarn and mimic the knits and purls that make up the blanket. That’s how they are hidden.
Step 8: Add Embellishments
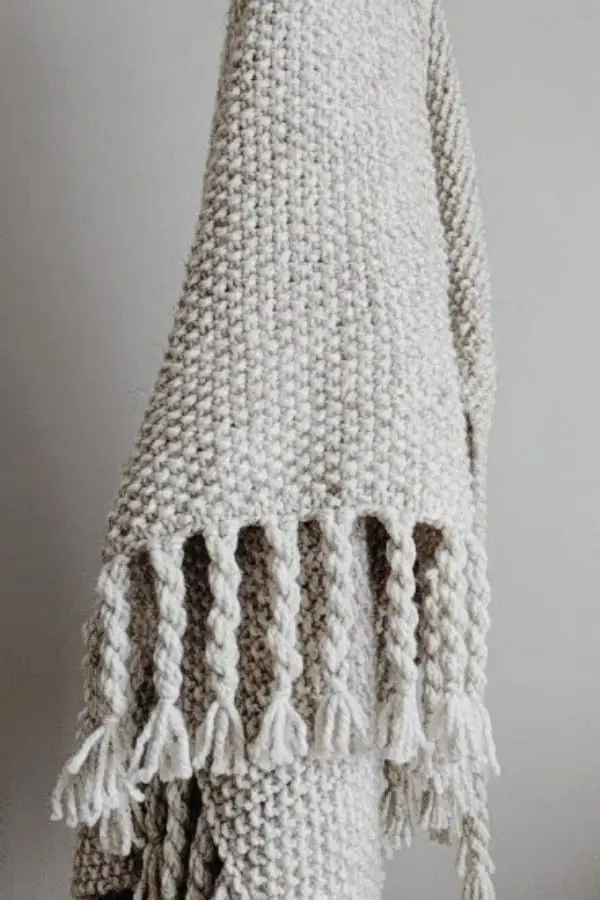
Not every blanket needs tassels or fringe. However, the twisted rope fringe pairs nicely with this textured blanket. Of course, you could leave this out, but then you’d miss all the fun of making the fringe!
Small details, such as the twisted fringe, can really take a plain blanket to a whole new level. Be sure to scroll to the bottom and watch the video I made to teach you how to make a twisted fringe!
The Arctic Throw Pattern
Description
The Arctic Throw is designed to be a reversible, textured blanket that makes handmade look store bought. The stitch combination is complemented by a bold twisted fringe, adding character to the blanket. You’ll never want to come out from underneath this thick, heavy blanket.
Materials
- Lion Brand Wool-Ease Thick & Quick (690, 1245 yds or 7, 12 skeins)
- Size 13 / 9.00 mm circular knitting needles, 36″ or longer (I used the Takumi Bamboo circular needles from Clover USA)
- Tapestry needle
- Scissors
- Measuring tape
- Size K / 6.50 mm crochet hook (to help with the fringe)
Gauge
14 rows x 8 sts (in seed stitch) = 4″
Final Measurements
Lapghan: 36″ x 48″
Throw: 52″ x 60″
Abbreviations
- co = cast on
- bo = bind off
- k = knit
- p = purl
- st(s) = stitches
Pattern Notes
- Fringe is not included in the finish size, but will add about 7″ on each side when attached.
- The yardage amounts are estimates that assume proper gauge.
- Fringe is included in yardage estimations.
- Sizing listed in the pattern will be Lapghan with Throw in parenthesis.
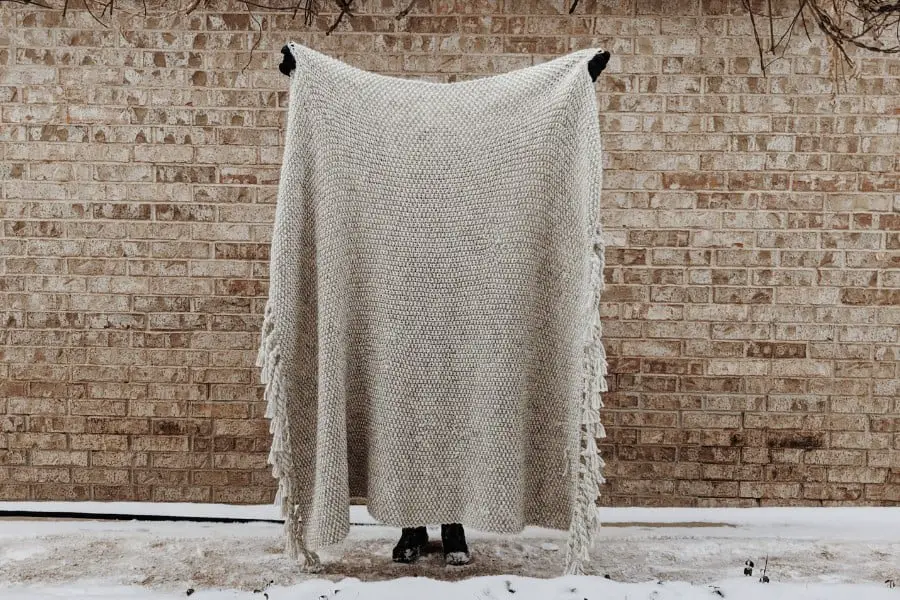
- For reference, the blanket in the photographs is the “throw” size.
The Arctic Throw
Begin: long tail co 74 (106) sts
Row 1: *k1, p1; repeat from * to end of row. (74, 106 sts)
Row 2: *p1, k1; repeat from * to end of row. (74, 106 sts)
Repeat rows 1 and 2 until 172 (216) are completed, or it reaches desired length.
Finish: bo
Cut yarn and fasten off + weave in all ends.
Fringe: add along the co and bo edges. Choose the method you like best from the video below. The blanket I made that is in the pictures has the #2 fringe (crossover twist).

